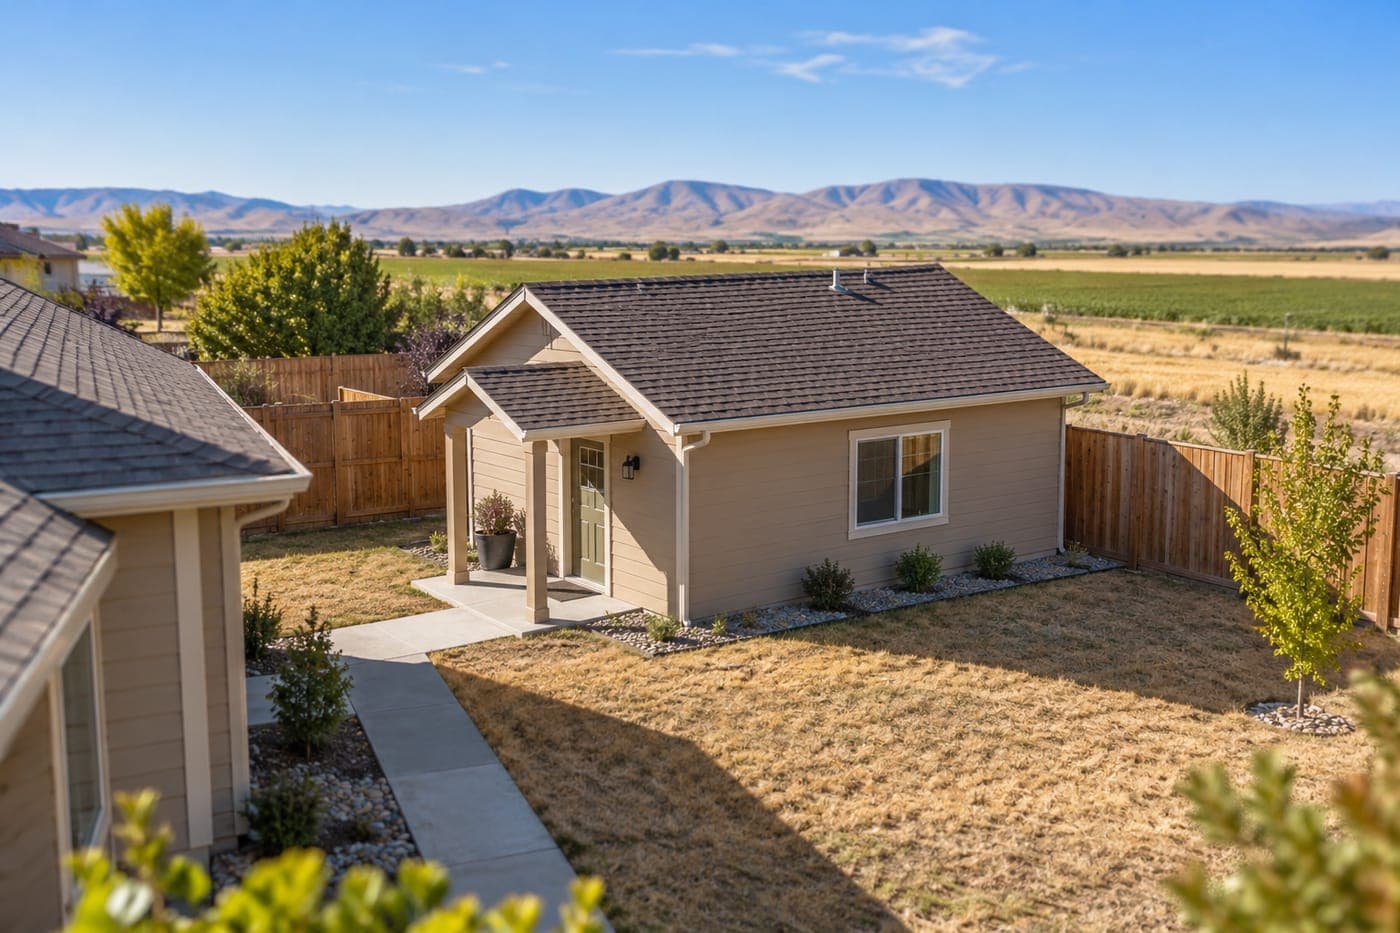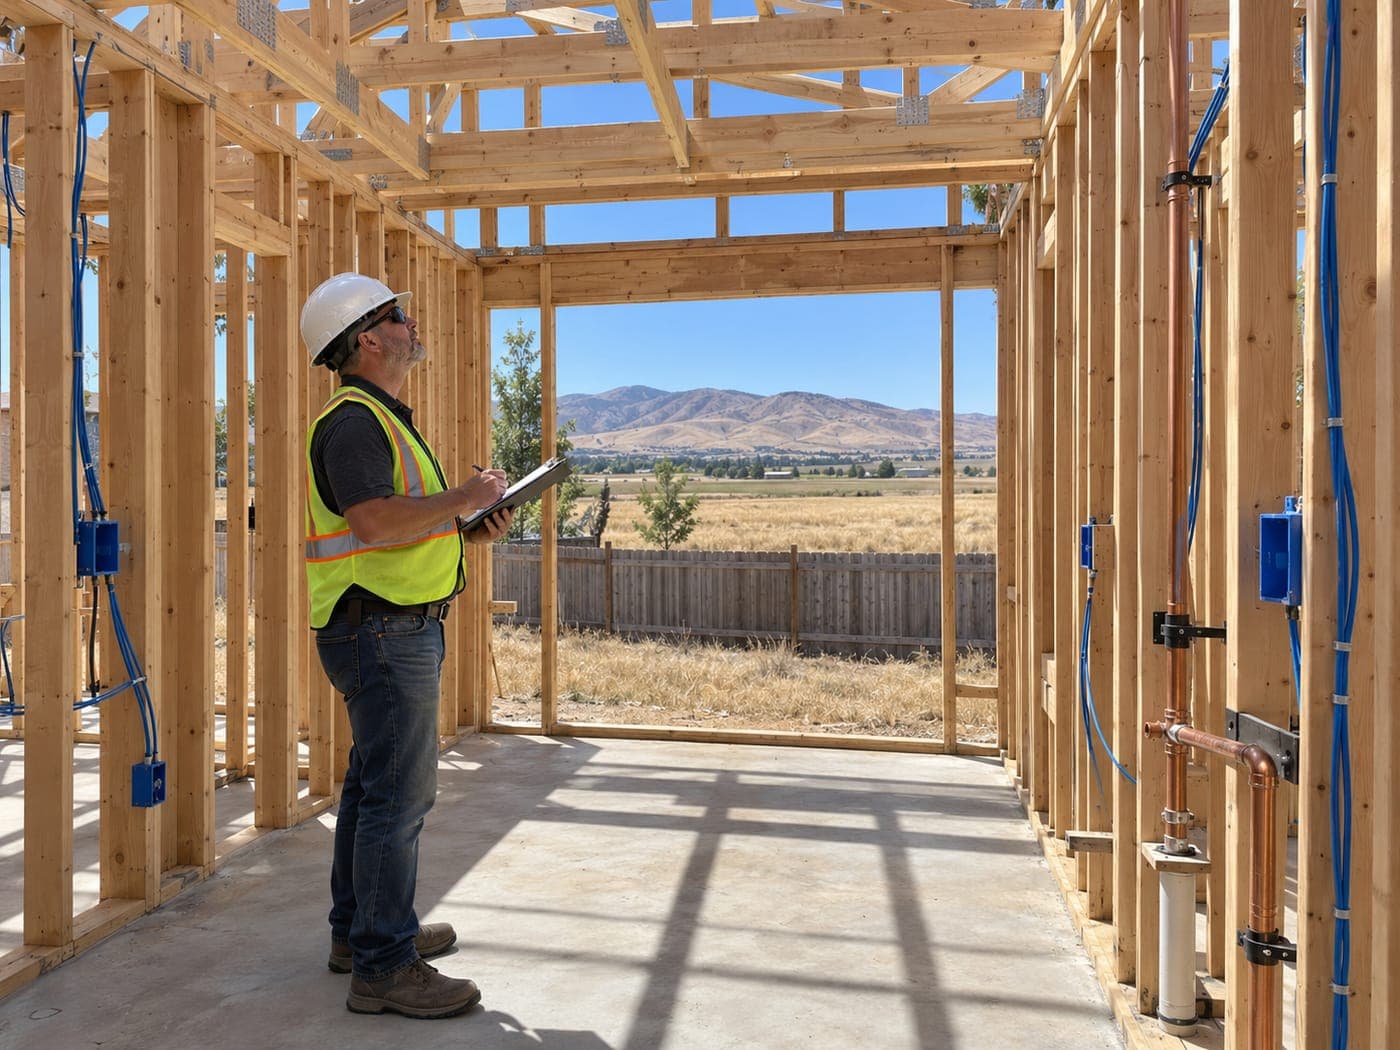
TL;DR: A typical ADU project in Twin Falls goes through nine inspections before you receive a certificate of occupancy: footing and setback, foundation, shear, mechanical/electrical/plumbing rough-ins, framing, insulation, gypsum (if applicable), MEP finals, and the final building inspection. Each inspection must pass before the next stage of construction can proceed. Failed inspections cost $50 per re-inspection and can delay your project by days or weeks. Understanding what inspectors look for at each stage, and preparing your site before they arrive, is the fastest way to keep your timeline on track.
Why the Inspection Sequence Matters More Than Most Homeowners Realize
Most homeowners focus on design and construction when they think about their ADU timeline. The inspection process rarely gets the same attention, but it controls the pace of your entire project. No inspection approval means no moving to the next phase, and a failed inspection means your contractor's crew sits idle while corrections are made and a re-inspection is scheduled.
The City of Twin Falls Building Safety Department requires a specific sequence of inspections for residential construction, including ADUs. Each inspection has its own requirements, its own inspector, and its own approval before the next stage of work can begin. Skipping ahead or covering work before it has been inspected is a code violation that can require tearing out finished work to expose what was missed.
Here is the full sequence, what each inspection covers, and how to prepare so your project moves through without unnecessary delays.
Inspection 1: Footing and Setback
This is the first inspection after site work begins. Before your contractor pours footings, an inspector verifies two things: that your footing trenches are dug to the correct depth and dimensions according to your approved plans, and that the structure is positioned correctly on your lot relative to property lines.
The Twin Falls County Building Department reviews against the 2018 International Residential Code with Idaho Amendments, which specifies a 24-inch frost depth for the Twin Falls area. Your footings must reach below that line in stable, undisturbed soil.
How to prepare. Your property pins must be located and string lines set up before the inspector arrives. If your property pins are buried or missing, your contractor or a surveyor will need to re-establish them. This is not optional. The inspector will not approve footings without confirmed setback measurements. If you are on a lot where setbacks are tight, our feasibility deal-breakers guide explains why confirming setbacks early prevents problems at this stage.
Inspection 2: Foundation
Once footings pass, the foundation inspection covers the full foundation system before the concrete slab or crawl space is poured or enclosed. The inspector checks hold-downs for shear walls, anchor bolt placement, rebar positioning, form dimensions, and any thickened slab areas.
How to prepare. All reinforcing steel and hardware must be in place and visible. Forms should be clean and properly braced. The approved plan set must be on site. If your site has clay-heavy soil, your inspector may pay extra attention to drainage and bearing capacity around the foundation.
The city gives concrete inspections scheduling priority over other inspection types. You can request either an AM window (8:00 a.m. to 12:00 p.m., site ready by 8:00) or a PM window (1:00 p.m. to 4:00 p.m., site ready by noon). Getting your concrete inspection scheduled promptly matters because your contractor's concrete crew and pump are booked for a specific pour date, and a delayed inspection means rescheduling all of them.
Inspection 3: Shear
The shear inspection verifies that your lateral bracing system (shear walls, hold-downs, and connectors) is properly installed according to the engineered plans. This inspection must pass before house wrap or any exterior covering goes over the walls.
How to prepare. All shear panel nailing patterns, hold-down bolts, and strap connections must be complete and accessible. If your ADU design includes engineered shear walls (common for the larger two-story plans), the engineer's drawings must be on site alongside the approved plan set.
Inspections 4a, 4b, 4c: Mechanical, Electrical, and Plumbing Rough-Ins
These three inspections happen after framing is up but before walls are closed. Each trade (HVAC, electrical, and plumbing) has its own permit, its own inspector, and its own approval. All three rough-in inspections must pass before the framing inspection can be scheduled.
Mechanical rough-in covers ductwork routing, HVAC equipment placement, combustion air provisions, and exhaust fan ducting. If your ADU uses a mini-split system (common for smaller units), this inspection is typically simpler than a ducted system.
Electrical rough-in covers all wiring, boxes, panel connections, and circuit routing. The inspector checks wire sizing, box fill calculations, GFCI and AFCI protection in required locations, and proper grounding. Your ADU's electrical panel must meet the capacity requirements specified in your approved plans.
Plumbing rough-in covers all supply and drain piping before it is enclosed in walls or under the slab. The inspector checks pipe sizing, slope on drain lines, venting, and connections to the main sewer lateral or septic system.
How to prepare. Each trade contractor should complete their work and confirm it is ready before their specific inspection is requested. The most common cause of failed rough-in inspections is one trade scheduling their inspection before their work is actually complete, or before conflicts with another trade's work have been resolved. For example, an HVAC duct routed through a space where the plumber needs to run a vent pipe creates a conflict that needs to be sorted out before either inspection, not during one.
Contact numbers for each inspector are separate. Electrical inspections are requested at (208) 735-7235, plumbing at (208) 735-7299, and mechanical at (208) 735-7289.
Inspection 5: Framing
The framing inspection is one of the most comprehensive in the sequence. It covers the entire structural skeleton of your ADU: wall framing, roof framing or trusses, fireblocking, draftstopping, bracing, window and door installation, and structural connections.
This inspection cannot be scheduled until all three rough-in inspections (mechanical, electrical, and plumbing) have been approved and signed off on the inspection card. The inspection card must be on site with those sign-offs visible.
How to prepare. Truss engineering documents must be on site and available to the inspector. All windows and doors must be sealed. All vertical and horizontal penetrations must be fire-blocked. If your ADU design matches the primary home's roof pitch (required under Twin Falls zoning), the inspector will verify that the as-built framing matches the approved plans.
This is the inspection where incomplete work is most likely to cause a failure. Contractors who rush to schedule framing before all the details are buttoned up lose more time to re-inspection than they saved by scheduling early.
Inspection 6: Insulation
The insulation inspection verifies that wall and ceiling insulation is properly installed before it is covered by drywall. The inspector checks insulation type, R-value, vapor barrier placement, and proper coverage around electrical boxes, pipes, and other penetrations.
How to prepare. Insulation must be installed according to the energy compliance documents in your approved plan set. Gaps, compression, and missing sections are the most common reasons for failure. Walls and ceilings cannot be covered until this inspection is approved.
Inspection 7: Gypsum (When Required)
This inspection is not required for every ADU. It applies specifically to fire-rated assemblies, such as separation walls in duplex or townhome configurations, or walls within a certain distance of a property line. If your ADU is a detached unit with adequate setbacks from property lines, you may not need this inspection at all.
If it is required, the inspector checks that fire-rated drywall is properly installed, fastened at the correct spacing, and that all joints and penetrations are sealed to maintain the fire rating.
How to prepare. Confirm with your contractor and the building department whether this inspection applies to your specific project before scheduling.
Inspections 8a, 8b, 8c: Mechanical, Electrical, and Plumbing Finals
Just as each trade had its own rough-in inspection, each has its own final inspection. These happen after finish work is complete and all fixtures, appliances, and equipment are installed and operational.
Mechanical final covers the completed HVAC system, thermostat operation, and exhaust fans.
Electrical final covers all outlets, switches, fixtures, smoke detectors, carbon monoxide detectors, GFCI outlets, panel labeling, and the meter connection.
Plumbing final covers all fixtures (sinks, toilets, showers), water heater installation, supply pressure, and drain function.
How to prepare. Every fixture and piece of equipment must be installed and working. The most common reason for a failed final is missing or non-functional items that are "almost done." If the shower head is not installed, the plumbing final will not pass. If the smoke detectors are not wired, the electrical final will not pass. Complete means complete.
Inspection 9: Final Building Inspection
The final building inspection is the last step before your certificate of occupancy. It can only be scheduled after all MEP finals have been approved and signed off on the inspection card.
The inspector conducts a comprehensive walkthrough of the finished ADU. They verify that the completed structure matches the approved plans, that all previous inspection corrections have been addressed, and that the unit is safe and code-compliant for occupancy.
How to prepare. The inspection card must be on site with all previous sign-offs. The unit should be clean, accessible, and complete. Address numbers must be posted. Exterior grading should direct water away from the foundation. Any site work required by the approved plans (parking, pathways, landscaping) should be finished.
How to Request Inspections in Twin Falls
The City of Twin Falls offers two ways to request inspections.
Online through the City Works Portal. Building and MEP inspections requested by 7:00 a.m. are typically scheduled for the same day.
By phone at the appropriate inspection line. Have your permit number, property address, contact name, phone number, and the specific inspection type ready before you call. Incomplete requests may not be scheduled. Phone requests for building inspections received after midnight are scheduled for the next business day.
Inspections normally occur between 8:00 a.m. and 4:00 p.m. on business days. They are handled in the order received, with concrete inspections taking priority.
What Happens When an Inspection Fails
A failed inspection is not the end of the world, but it does cost time and potentially money. The city charges a $50 re-inspection fee when the same issue fails inspection more than once. The fee must be paid before a re-inspection can be scheduled.
The real cost of a failed inspection is the delay. Your contractor's crew cannot proceed to the next phase until the failed inspection passes. Depending on the correction needed and the inspector's availability, a single failure can add three to seven days to your timeline. Multiple failures compound, and a project that started on schedule can fall weeks behind.
The best way to avoid failed inspections is straightforward: do not request an inspection until the work is genuinely complete for that phase. Contractors who treat inspection requests as a way to "see if we are close" waste everyone's time.
Certificate of Occupancy
Once the final building inspection is approved, the city processes your certificate of occupancy. According to the building department, certificates are processed in the order received, and you should allow up to three business days. Your ADU cannot be occupied, rented, or used as a dwelling until this certificate is issued.
For homeowners planning to rent their ADU, the certificate of occupancy date is effectively your earliest possible move-in date for tenants. Factor those three business days into your timeline when setting a lease start date.
Ready to Build with Confidence?
If you are planning an ADU in Twin Falls and want to understand every step of the process before you start, Twin Falls ADU Guys can walk you through it. We offer a free Readiness Call that takes 10 to 15 minutes. We will assess your property, discuss your goals, and give you an honest picture of what your project timeline looks like, inspections included.
We serve homeowners across Twin Falls, Jerome, Burley, Rupert, Filer, Buhl, Kimberly, Gooding, and Hagerman. You can schedule your Readiness Call at twinfallsaduguys.com or call us directly at (208) 613-9830.
Frequently Asked Questions
How many inspections does a typical ADU project require?
A standard detached ADU in Twin Falls goes through approximately nine inspections: footing and setback, foundation, shear, three MEP rough-ins, framing, insulation, three MEP finals, and the final building inspection. The gypsum inspection may or may not apply depending on your project. Garage conversions may require fewer inspections since the foundation and framing already exist.
How long does each inspection take?
The inspection itself is usually 15 to 45 minutes depending on the scope. The wait time to get an inspector scheduled is typically one to two business days if you request by 7:00 a.m. through the online portal. Concrete inspections can often be scheduled same-day with AM or PM windows.
What is the most common reason for a failed inspection?
Incomplete work. Contractors or homeowners sometimes request an inspection before the work for that phase is fully finished, hoping to get ahead of the schedule. Inspectors will not approve work that is 95 percent complete. The other common reasons are work that does not match the approved plans and missing documentation (such as truss engineering drawings not being on site for the framing inspection).
Can I be present during inspections?
Yes. You are not required to be present (your contractor typically handles inspection coordination), but you have every right to be there. Being present gives you firsthand knowledge of any issues the inspector identifies and helps you understand what is happening at each stage of your project.
What happens if my contractor and the inspector disagree?
Disagreements between contractors and inspectors do happen. The inspector's authority comes from the adopted building code (the 2018 IRC with Idaho Amendments in Twin Falls). If there is a genuine code interpretation question, the building official can be asked to make a determination. If you believe an inspection result is incorrect, the building department can review the specific issue. Escalation is rare, but the process exists.
Does a garage conversion go through the same inspection sequence?
Not exactly. A garage conversion skips the footing, foundation, and shear inspections because the existing structure already passed those when it was originally built. You will still need MEP rough-ins, framing modifications (if any), insulation, MEP finals, and a final building inspection. The reduced inspection count is one reason garage conversions tend to permit and build faster than new detached units.
Twin Falls ADU Guys Team
Twin Falls ADU Guys